Preparing fabric
Step -1
Before starting the batik process, the fabric must be properly prepared to ensure the wax sticks well and the dye is absorbed evenly. This begins with washing the fabric thoroughly to remove any impurities, such as natural oils, starch, dust, or chemicals that may have been used during manufacturing. If these substances are not removed, they can prevent the wax from bonding properly or cause uneven dyeing.
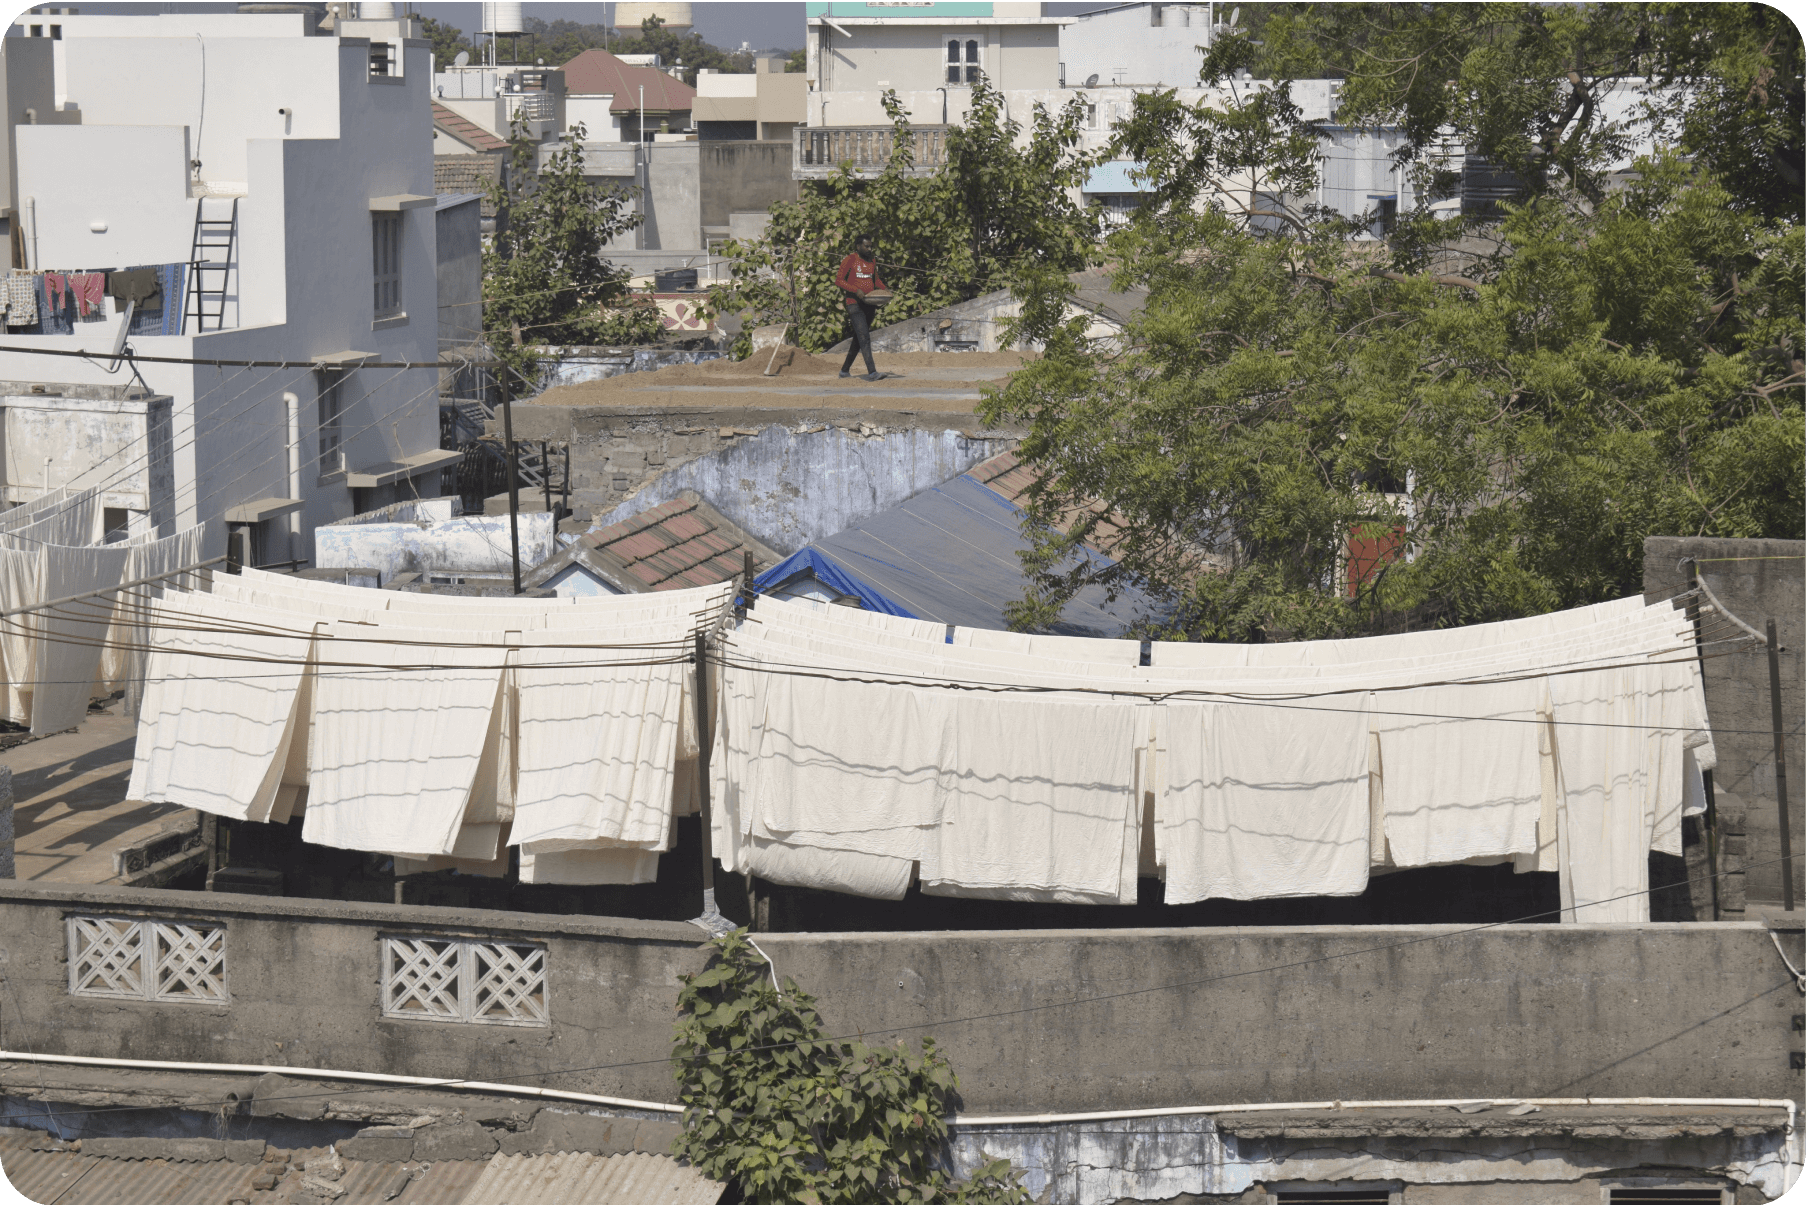
After washing, the fabric is air-dried completely. The cloth must be smooth and fully dry before applying wax, as moisture can cause the wax to cool too quickly or spread unevenly. Once dry, the fabric is ironed or stretched flat so it is wrinkle free and ready for stamping or drawing with wax. This is careful preparation step is essential to achieve crisp patterns, strong wax resist, and vibrant colours in the final batik design.
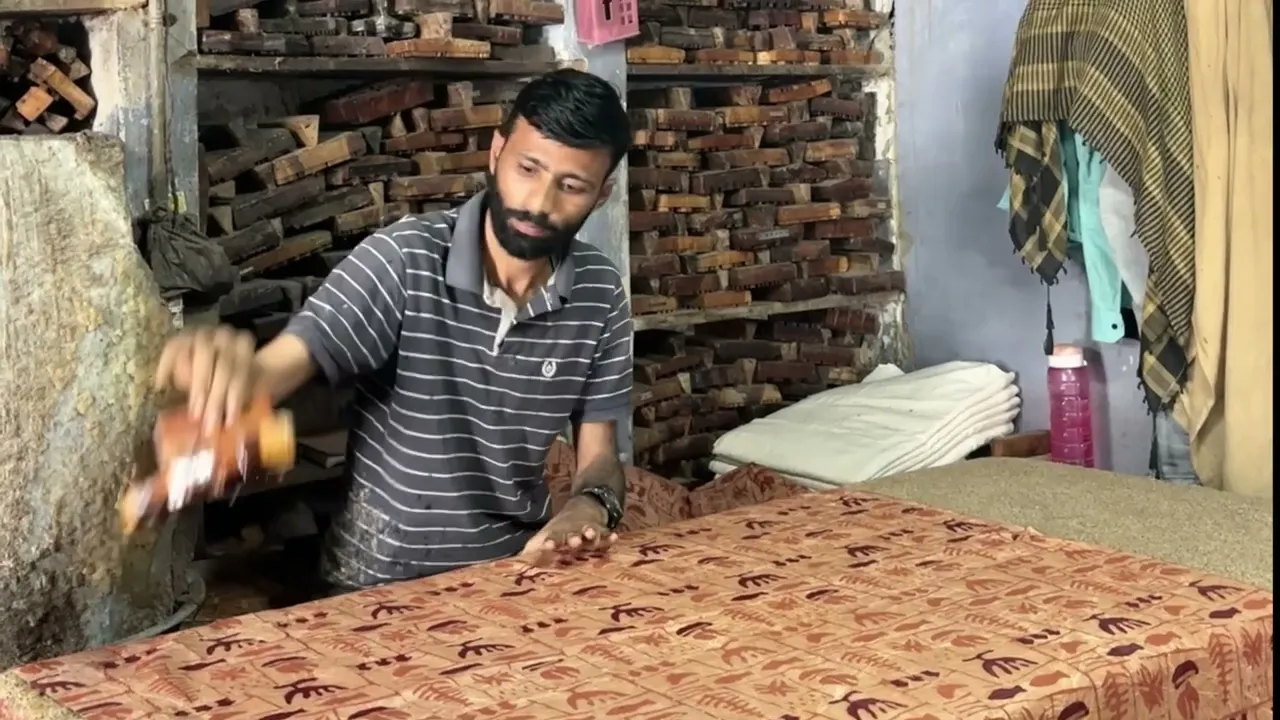
Step - 2 Waxing
Once the fabric is clean, dry, and stretched out smoothly, the next step is to apply hot wax using carved wooden. These blocks have intricate patterns that will be preserved on the fabric during the dyeing process.
The wax mixture, typically made from paraffin and beeswax, is melted in a wax pot and kept at a steady temperature (around 60–80°C) so it remains fluid but doesn't burn. The artisan dips the block carefully into the hot wax, making sure it coats the design evenly without overflowing. Then, with precise pressure, the block is stamped firmly onto the fabric, transferring the wax pattern.
This wax acts as a resist meaning it blocks the dye from entering the fabric in those areas. Wherever the wax is applied, the fabric will retain its original color. The rest of the fabric, which is not waxed, will absorb the dye during the next step. This technique allows artisans to create sharp, detailed patterns and motifs that remain even after multiple dyeing stages.After stamping, the fabric is usually set aside for a short time to let the wax cool and harden, ensuring a clean resist before the fabric is dipped into dye.
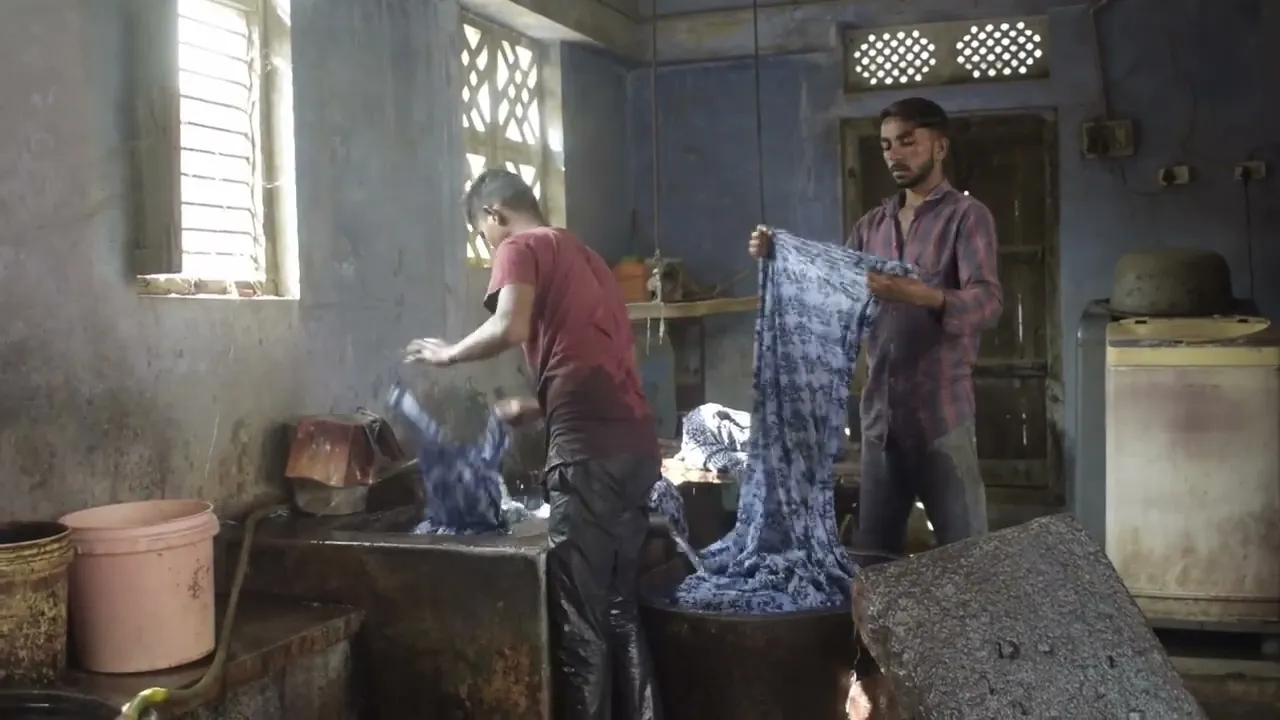
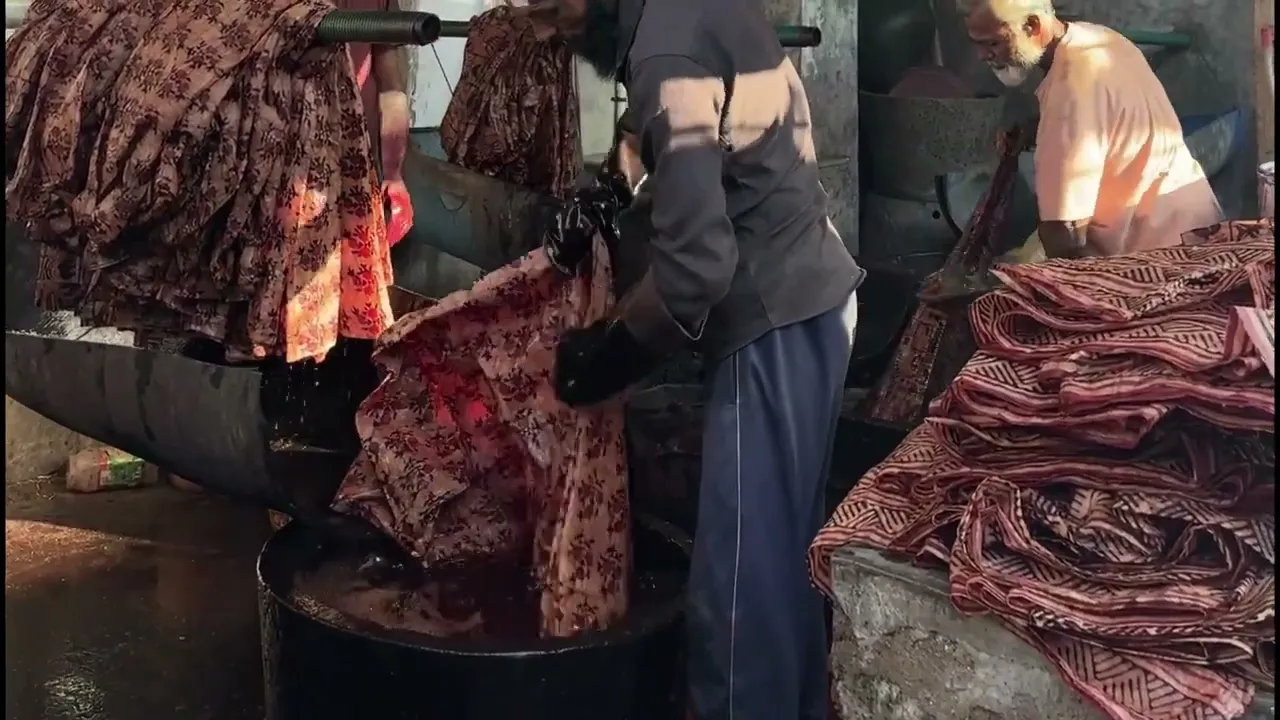
Step - 3 Dyeing
Single Dyeing
The fabric is carefully dipped into a dye bath a container filled with natural or synthetic dye, mixed with water and sometimes a fixative (like alum or soda ash) to help the colour bind to the fibers. Because the waxed areas resist the dye, only the unwaxed portions absorb the colour. This creates a strong contrast between the dyed sections and the preserved design. The fabric is dried completely, usually by hanging it in a shaded, well-ventilated area.
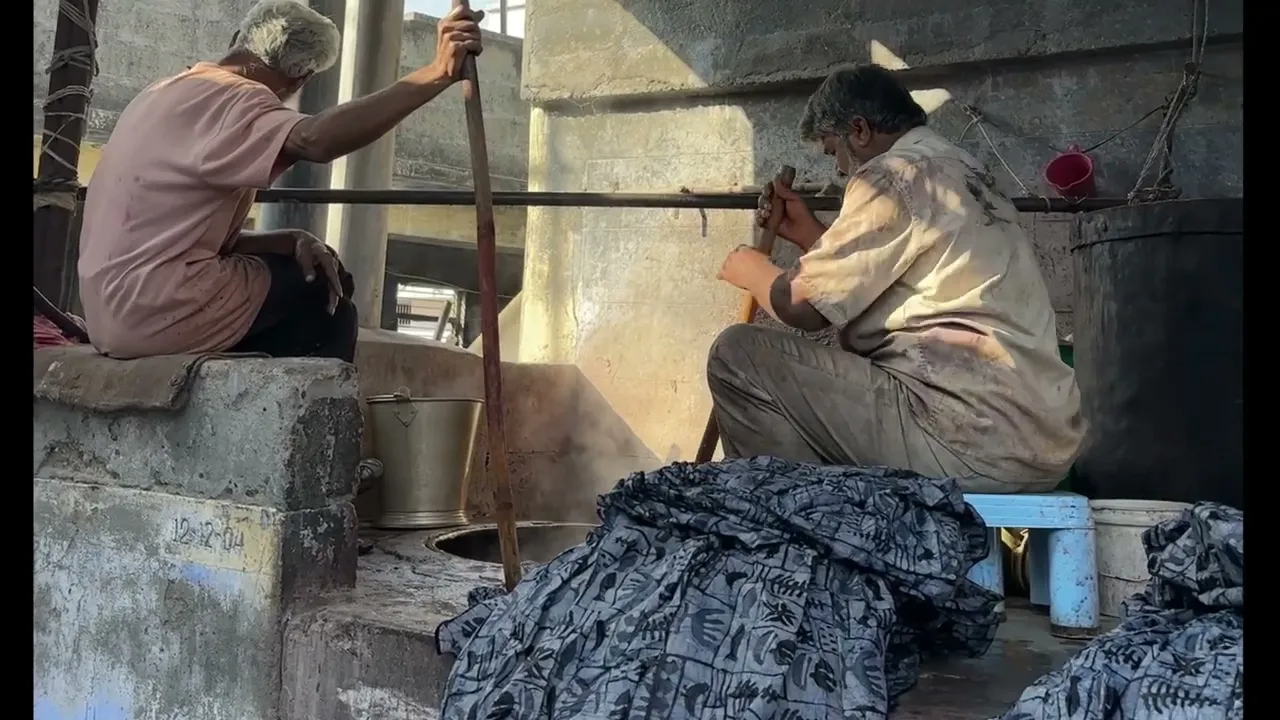
Multiple Dyeing
To achieve multi-coloured or layered patterns in batik, the dyeing process is repeated several times. After each dyeing stage, the fabric is dried completely, usually by hanging it in a shaded, airy space. Then, more wax is applied to protect the newly dyed areas before the fabric is dipped into another darker dye bath This sequence typically moves from light to dark colours, as it's easier to layer darker shades over lighter ones. Drying between each step is essential it sets the dye prevents the wax from smudging, and allows the artisan to clearly see the design before continuing.
Step - 4 Removing Wax
After the fabric has been dyed and dried, the final step begins removing the wax to reveal the hidden design. The artisan gently places the cloth into boiling water, sometimes with a bit of detergent or soda ash, to help the wax melt. As it heats up, the wax rises to the surface, and the vibrant patterns beneath begin to emerge.
Some artisans may iron or scrape off excess wax before boiling, but the magic truly happens in the hot water. With the wax gone, fine cracks in the design created during dyeing become visible, forming the signature crackle effect that gives batik its natural charm.
Finally, the fabric is rinsed and dried, revealing a rich, detailed textile a true work of art shaped by heat, color, and craftsmanship.
Step - 5 Finishing and Packaging
Drying
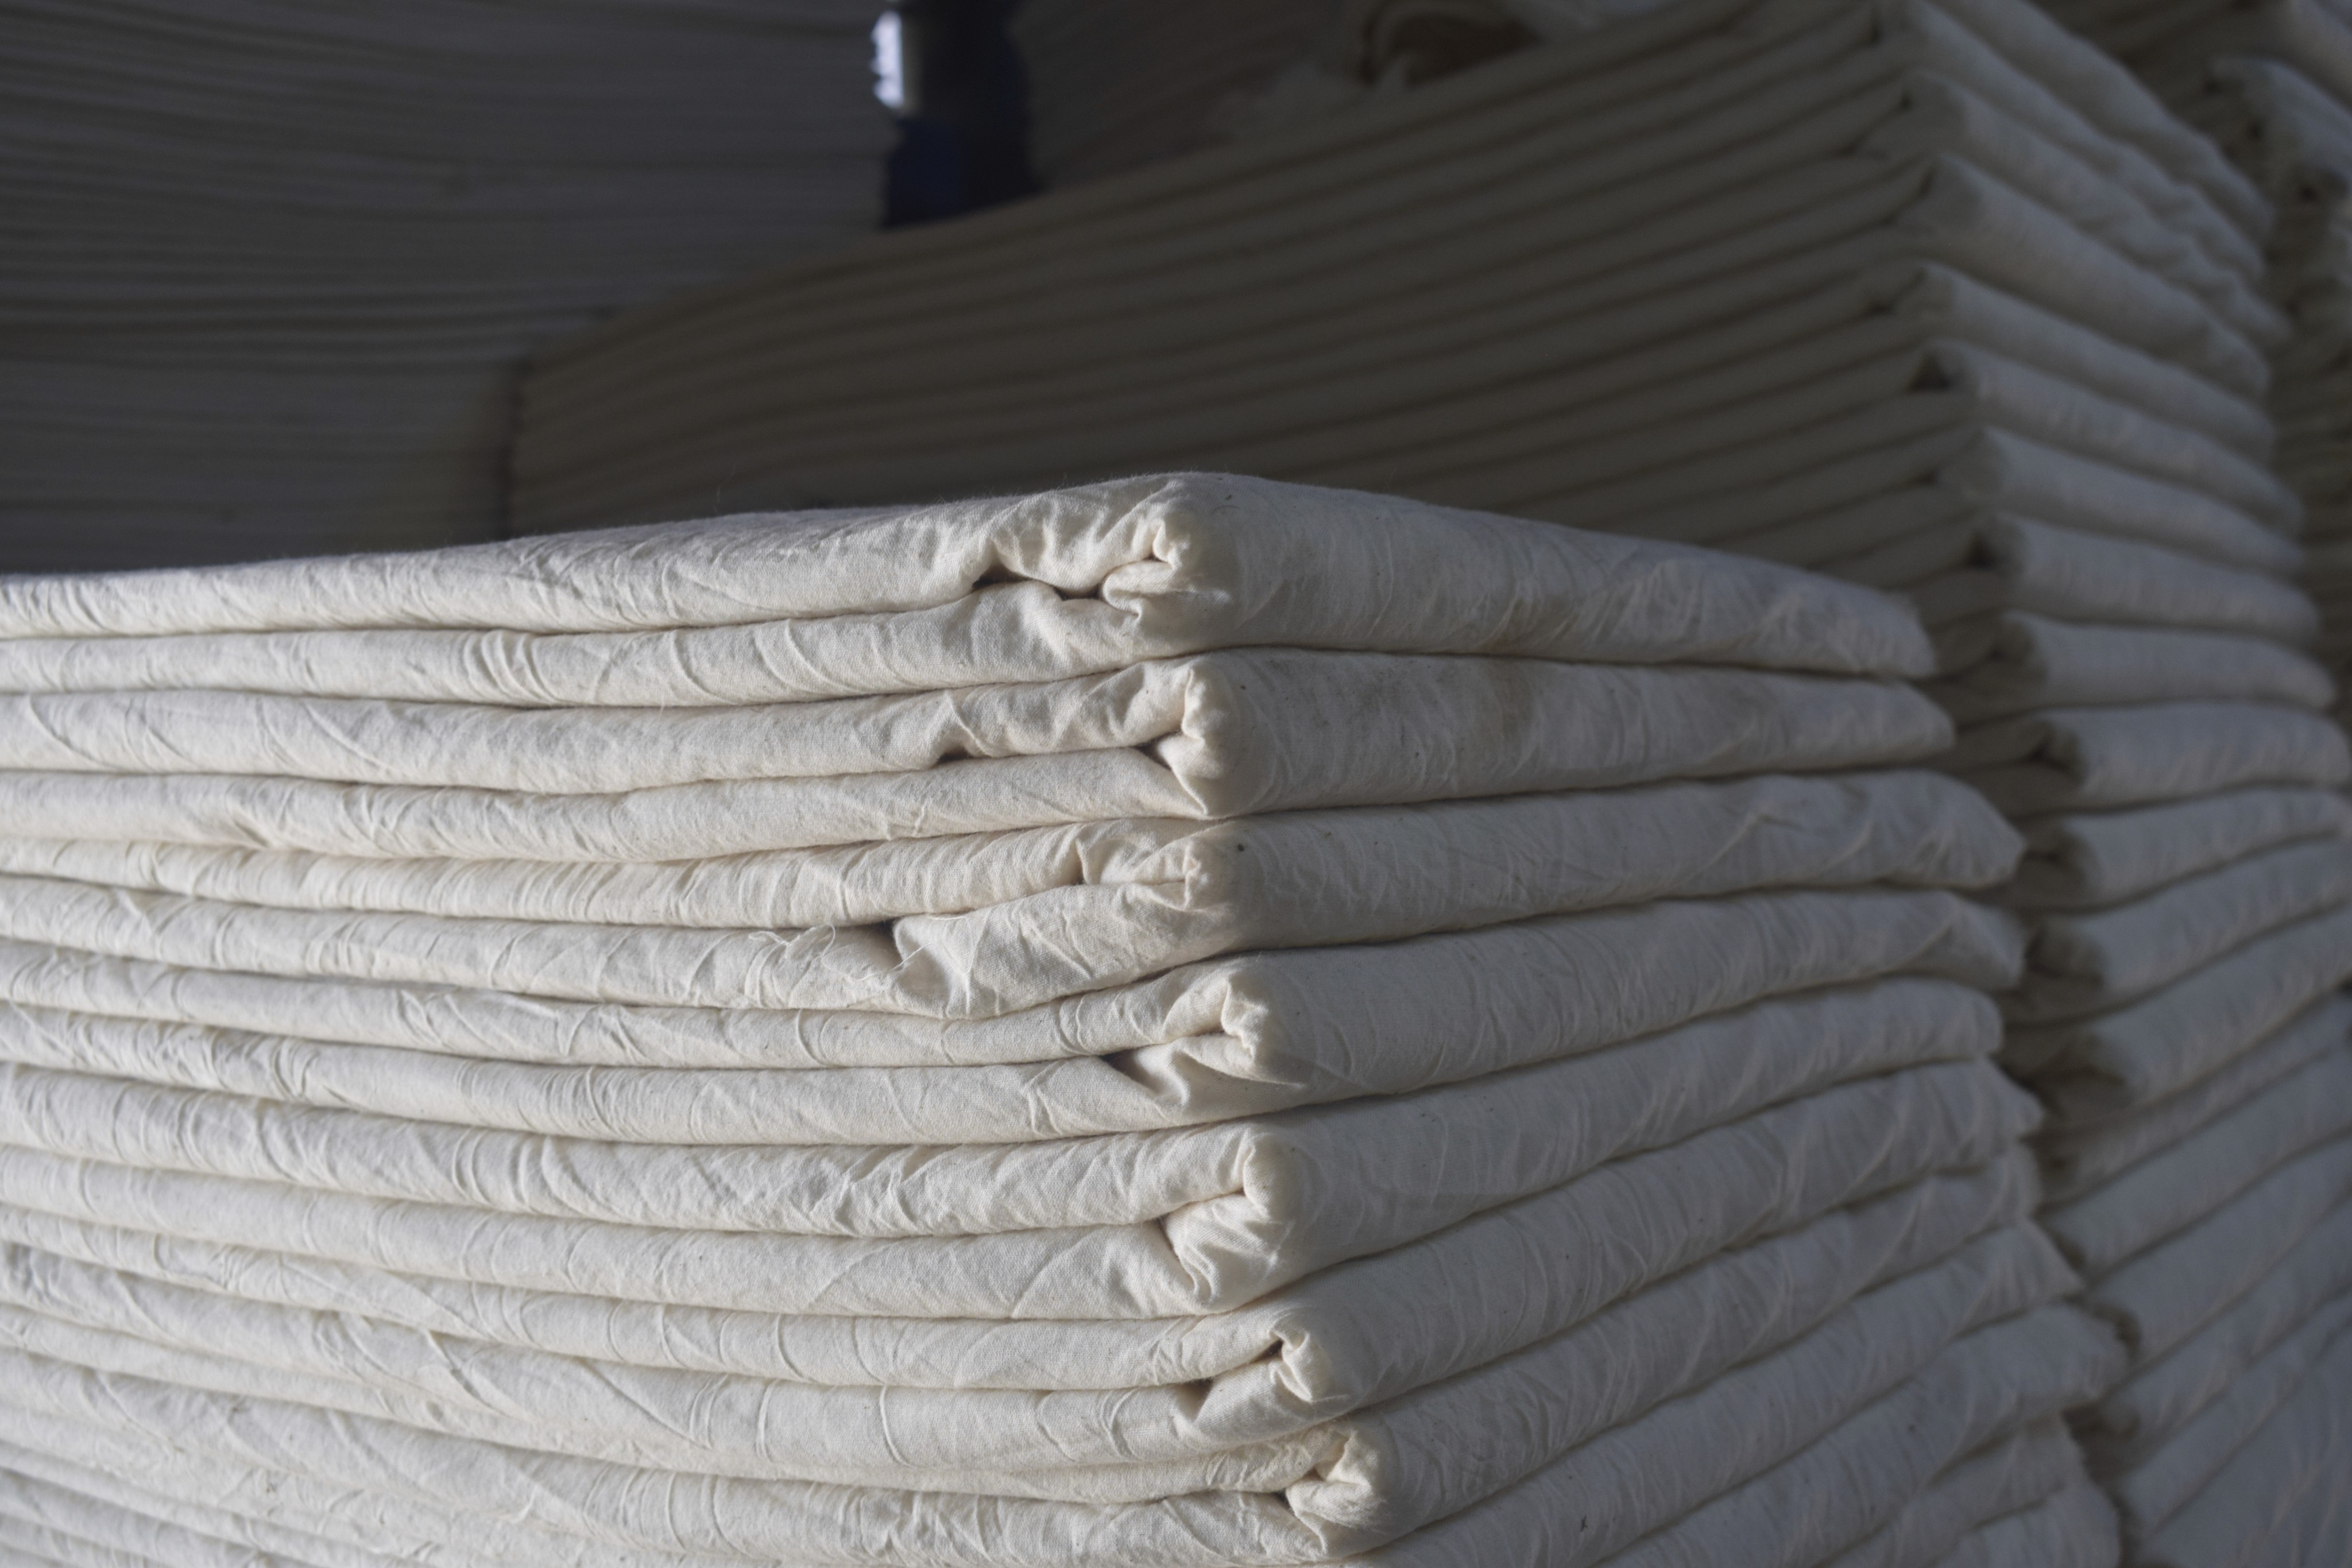
Packaging


After the wax is removed and the fabric has dried, the batik cloth is washed again to get rid of any leftover wax or dye. Once clean, it’s hung to dry and then carefully ironed to make the colors brighter and the design sharp and smooth.When ready, the fabric is neatly folded sometimes with tissue paper to protect the patterns and then packed in paper or eco-friendly wrapping. Labels or tags may be added to share details about the design or artisan. Finally, the fabric is ready to be stored, sold, or shipped to its next destination.